Create your first workflow
In this guide you will learn how to use Zparse workflow editor and the basics of workflows.
Create a new workflow
Go to Workflows > Create new workflow
Choose a name for your mapping than select "Blank workflow"
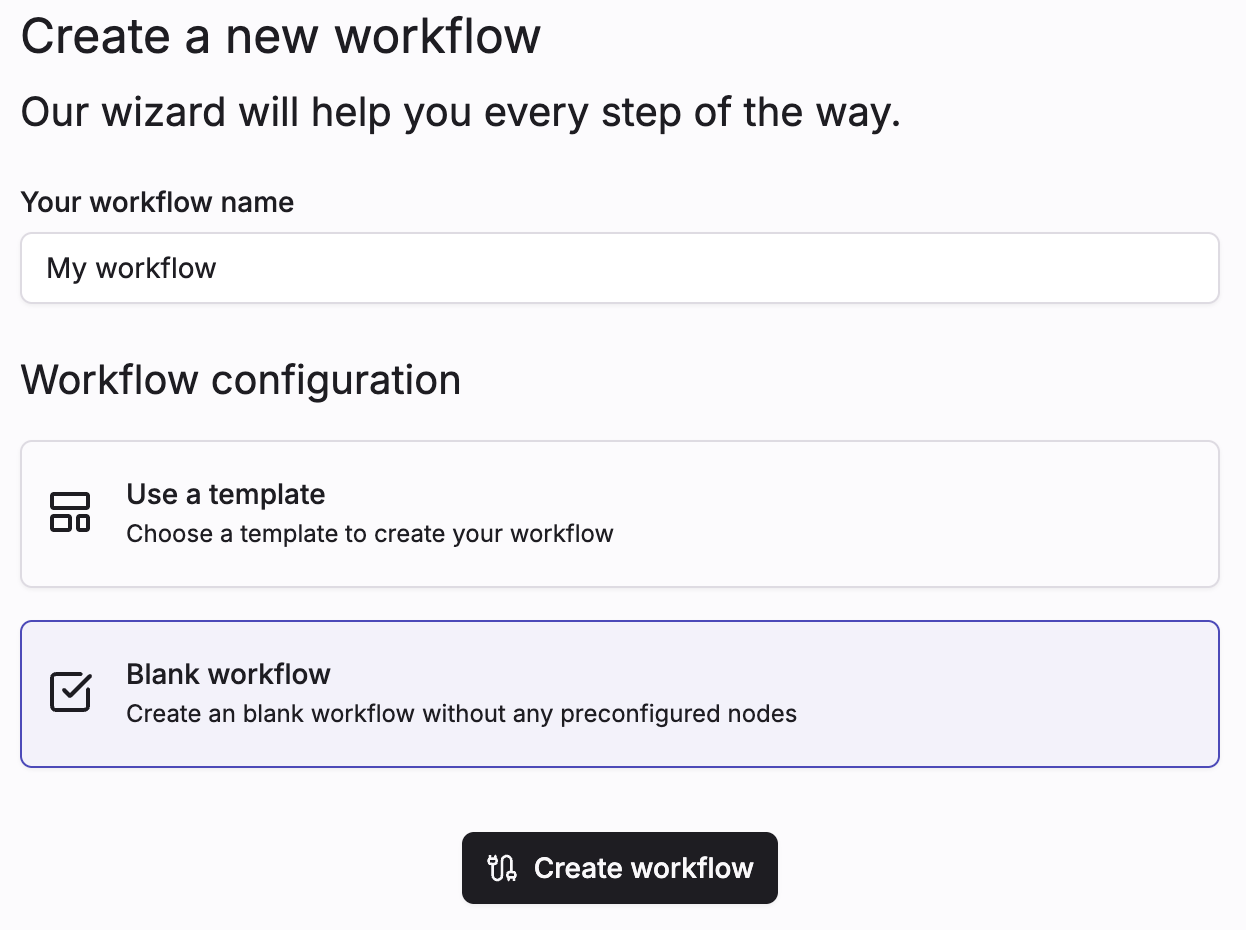
Click Create workflow to create your workflow, you will be redirected to the editor.
Workflow
A workflow defines the automated path data takes from its source (e.g., a file upload) through various actions to its destination (e.g., an API).
- Retrieve data from a source
- Execute mapping
- Publish / Return data to a destination
1. Retrieving data
For this tutorial we make the simplest possible workflow, a simple web endpoint that will receive your data via a web API and return the mapped file to the caller.
In section Web server on the left panel select File endpoint function and add it to the current workflow.
File endpoint will be our workflow entry point. After creating it, if you edit the configuration you will be able to see the workflow url.
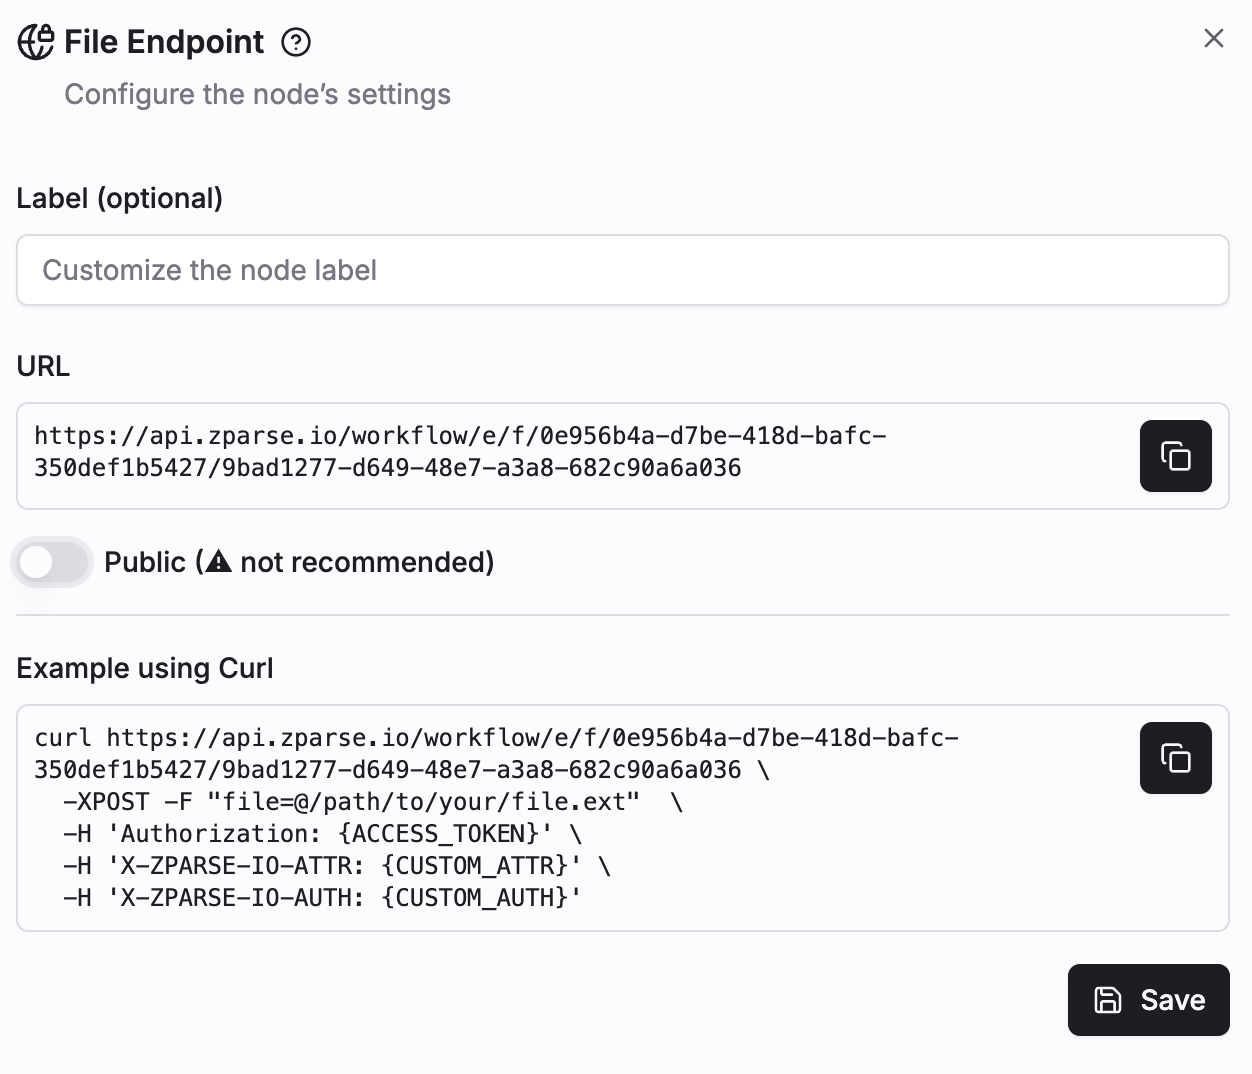 Pushing a file to this url will automatically enter the workflow.
2. Execute mapping
Now that we can receive file we will simply send it to our mapping, we will use previously created mapping cf. Create your first mapping
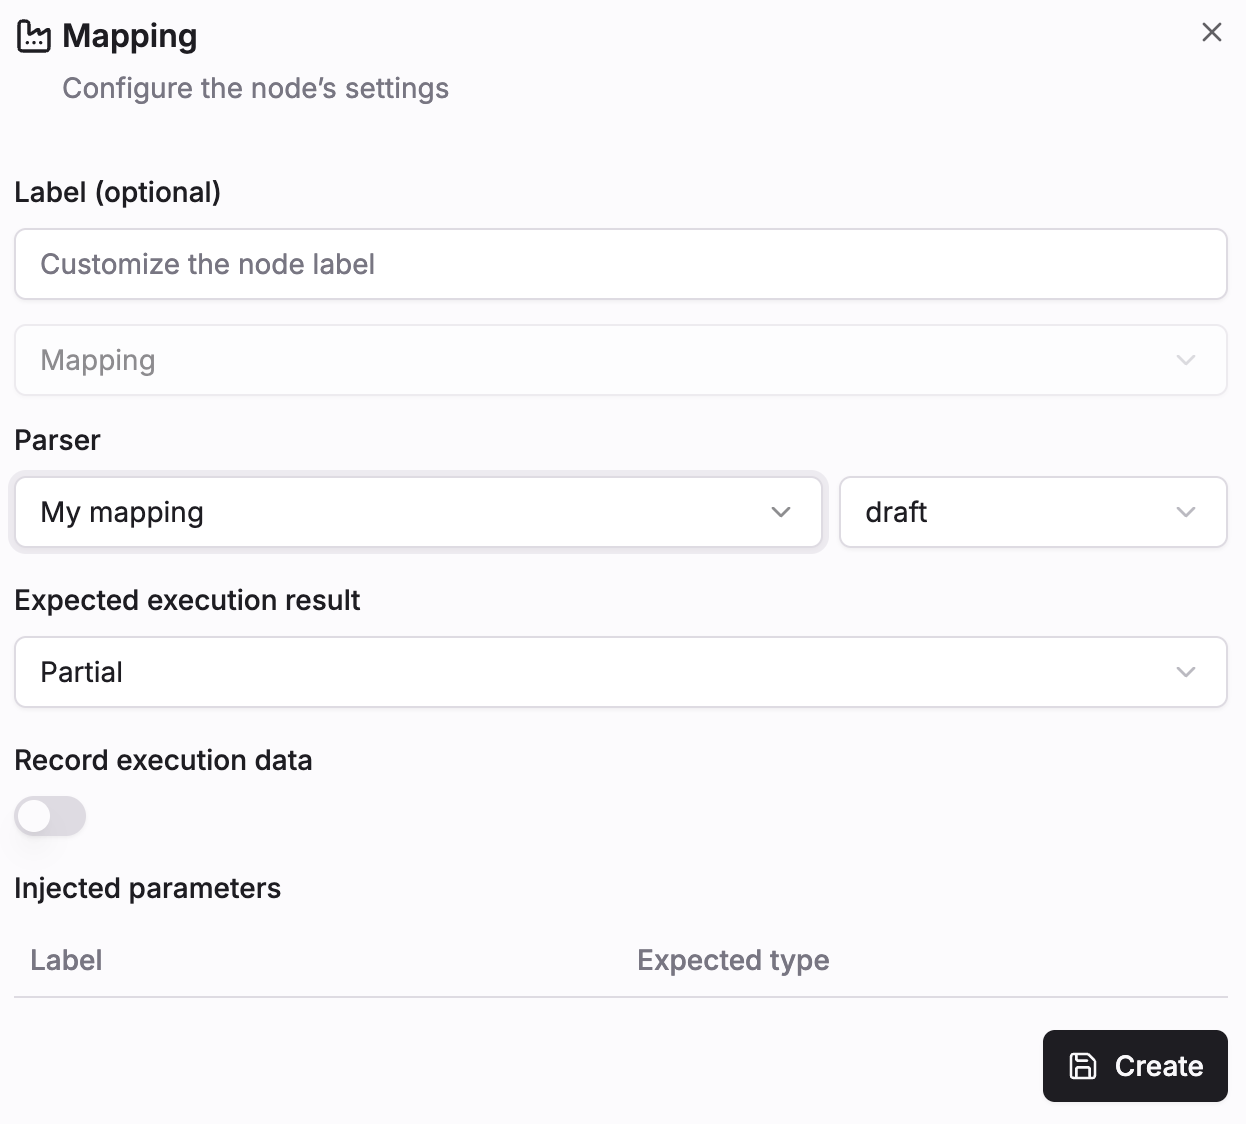
In section Mapping select Mapping and add it to current workflow.
Under Parser select our previously created mapping, click on Record execution data switch button then keep the rest of configuration by default than hit Create.
Now link our entry point file connector to our mapping XLSX file connector:
3. Publish / Return data to a destination
For this guide we will simply return the result of mapping to the endpoint, to do this under Web server add a new function File response
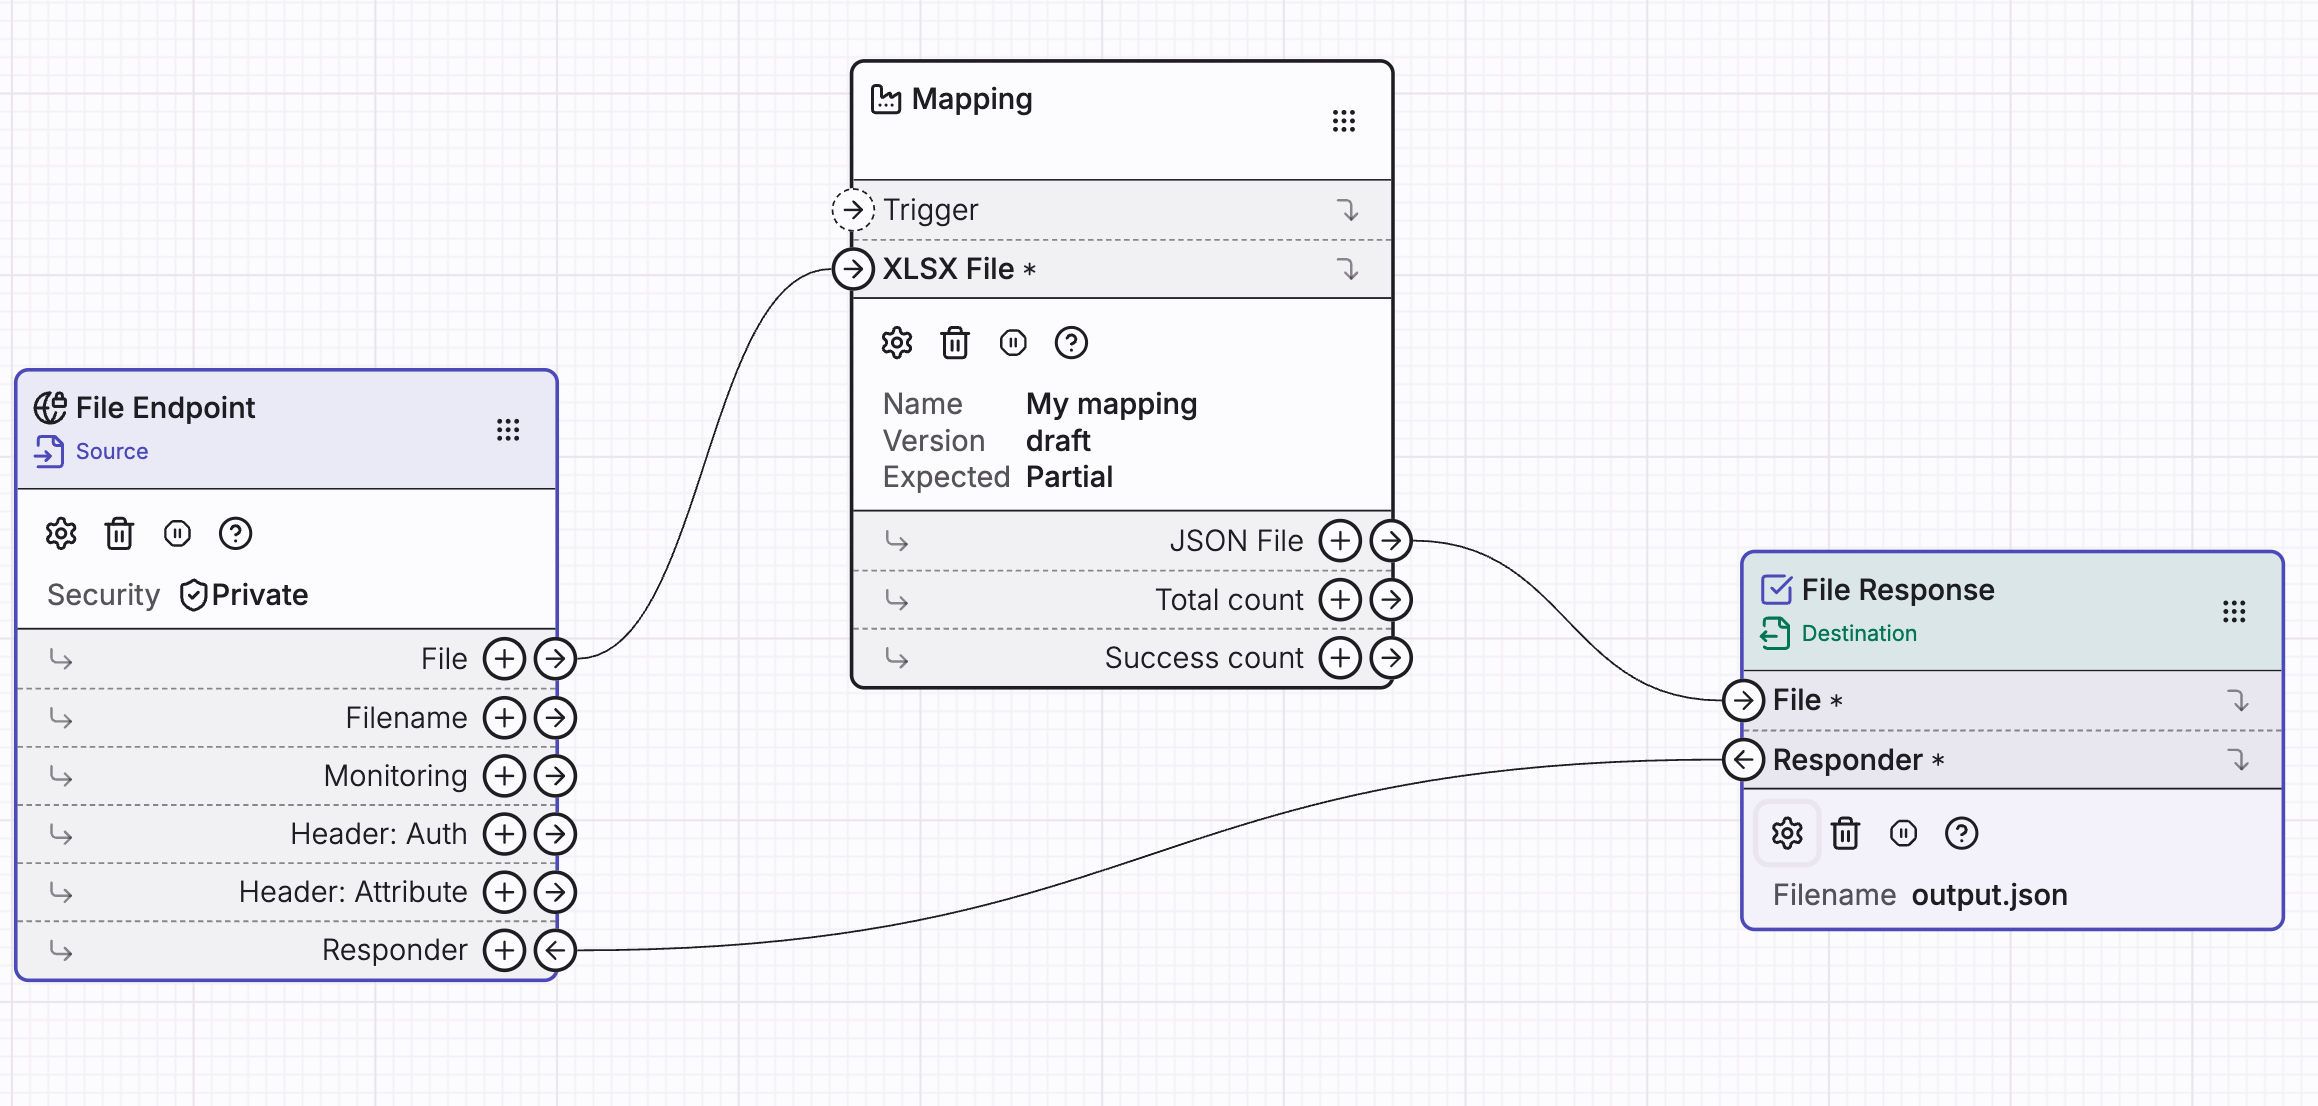
- Link
MappingoutputJSON filetoFile response>File - Link
File response>Responderto our entry pointResponder
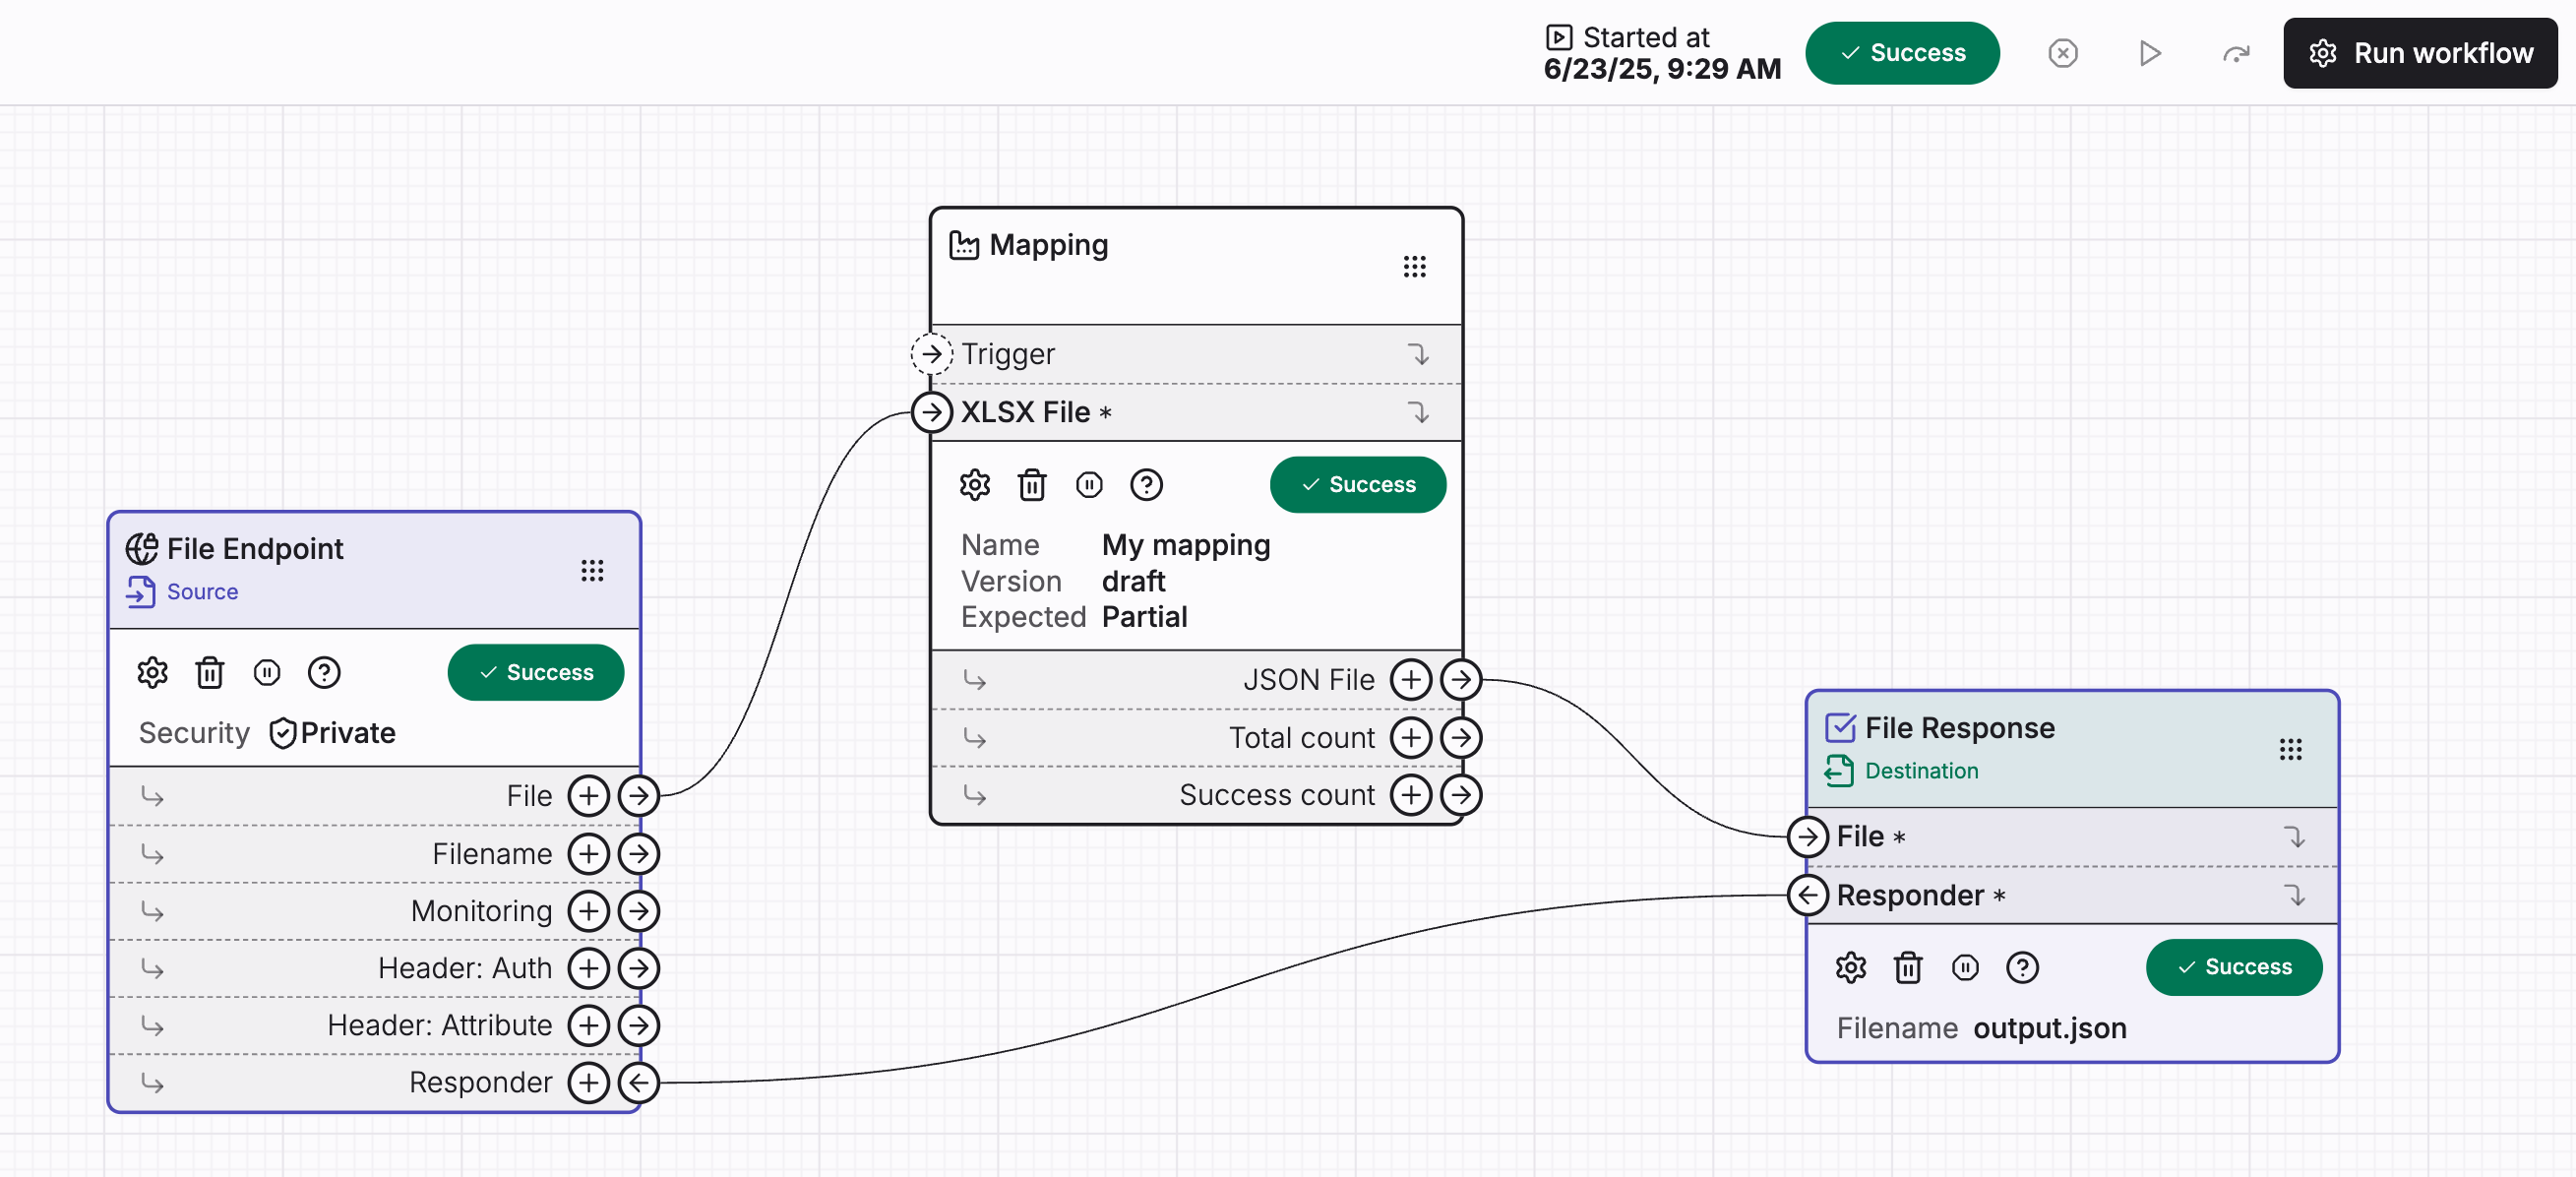
In the end you should have a workflow that look like:
Your workflow is completed !
Test your mapping
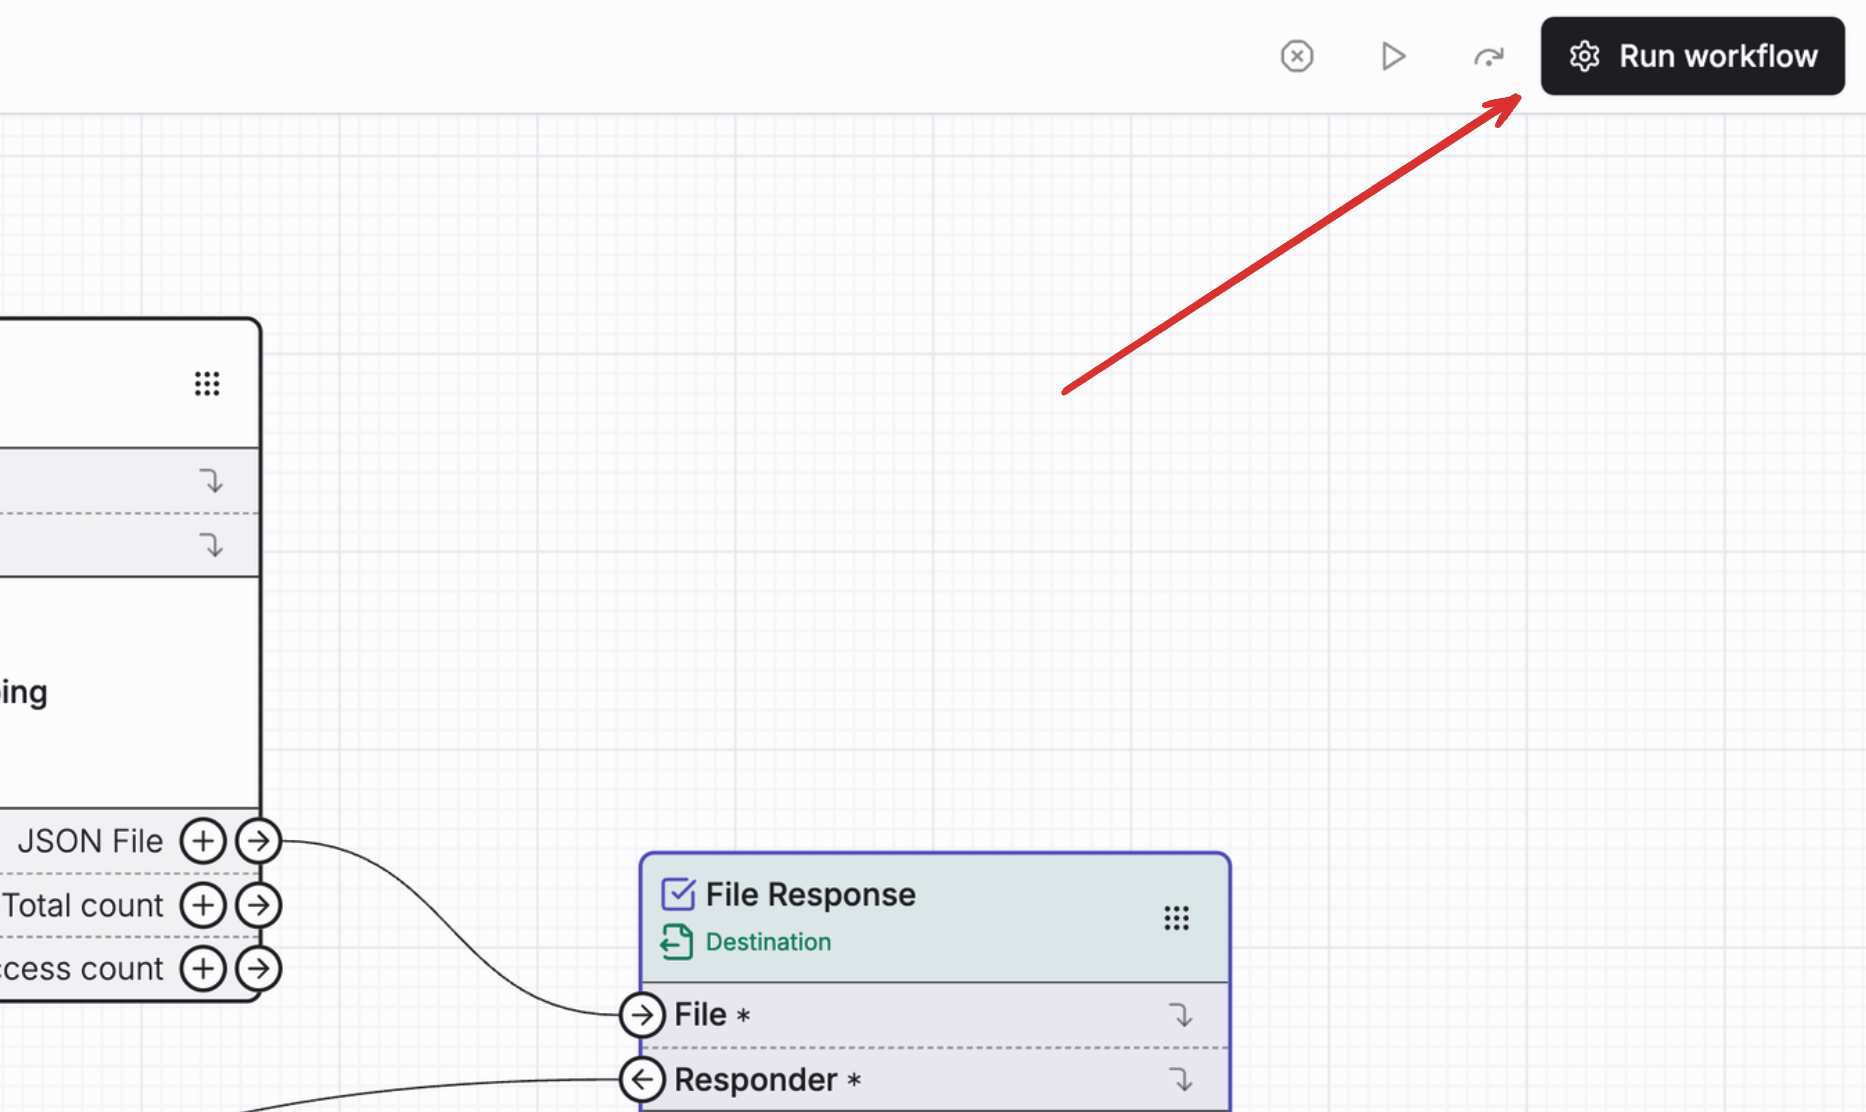
Now we will test our workflow using test file. Click on Run workflow in upper right section
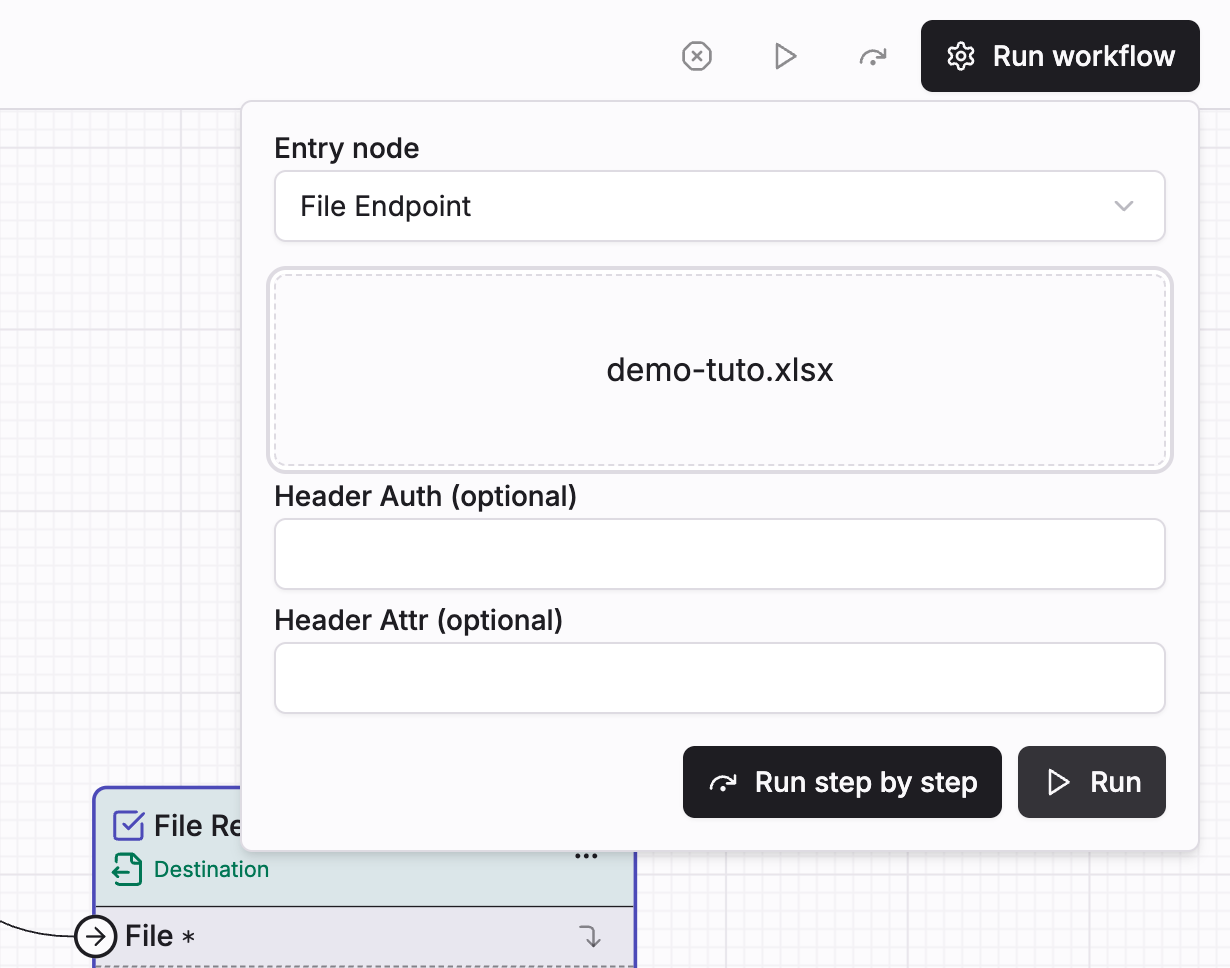
Add your excel file (same you used for mapping tutorial) than hit Run button.
you should see the execution was a success
If you click on the Success button in the upper right of the screen this will open the execution timeline:
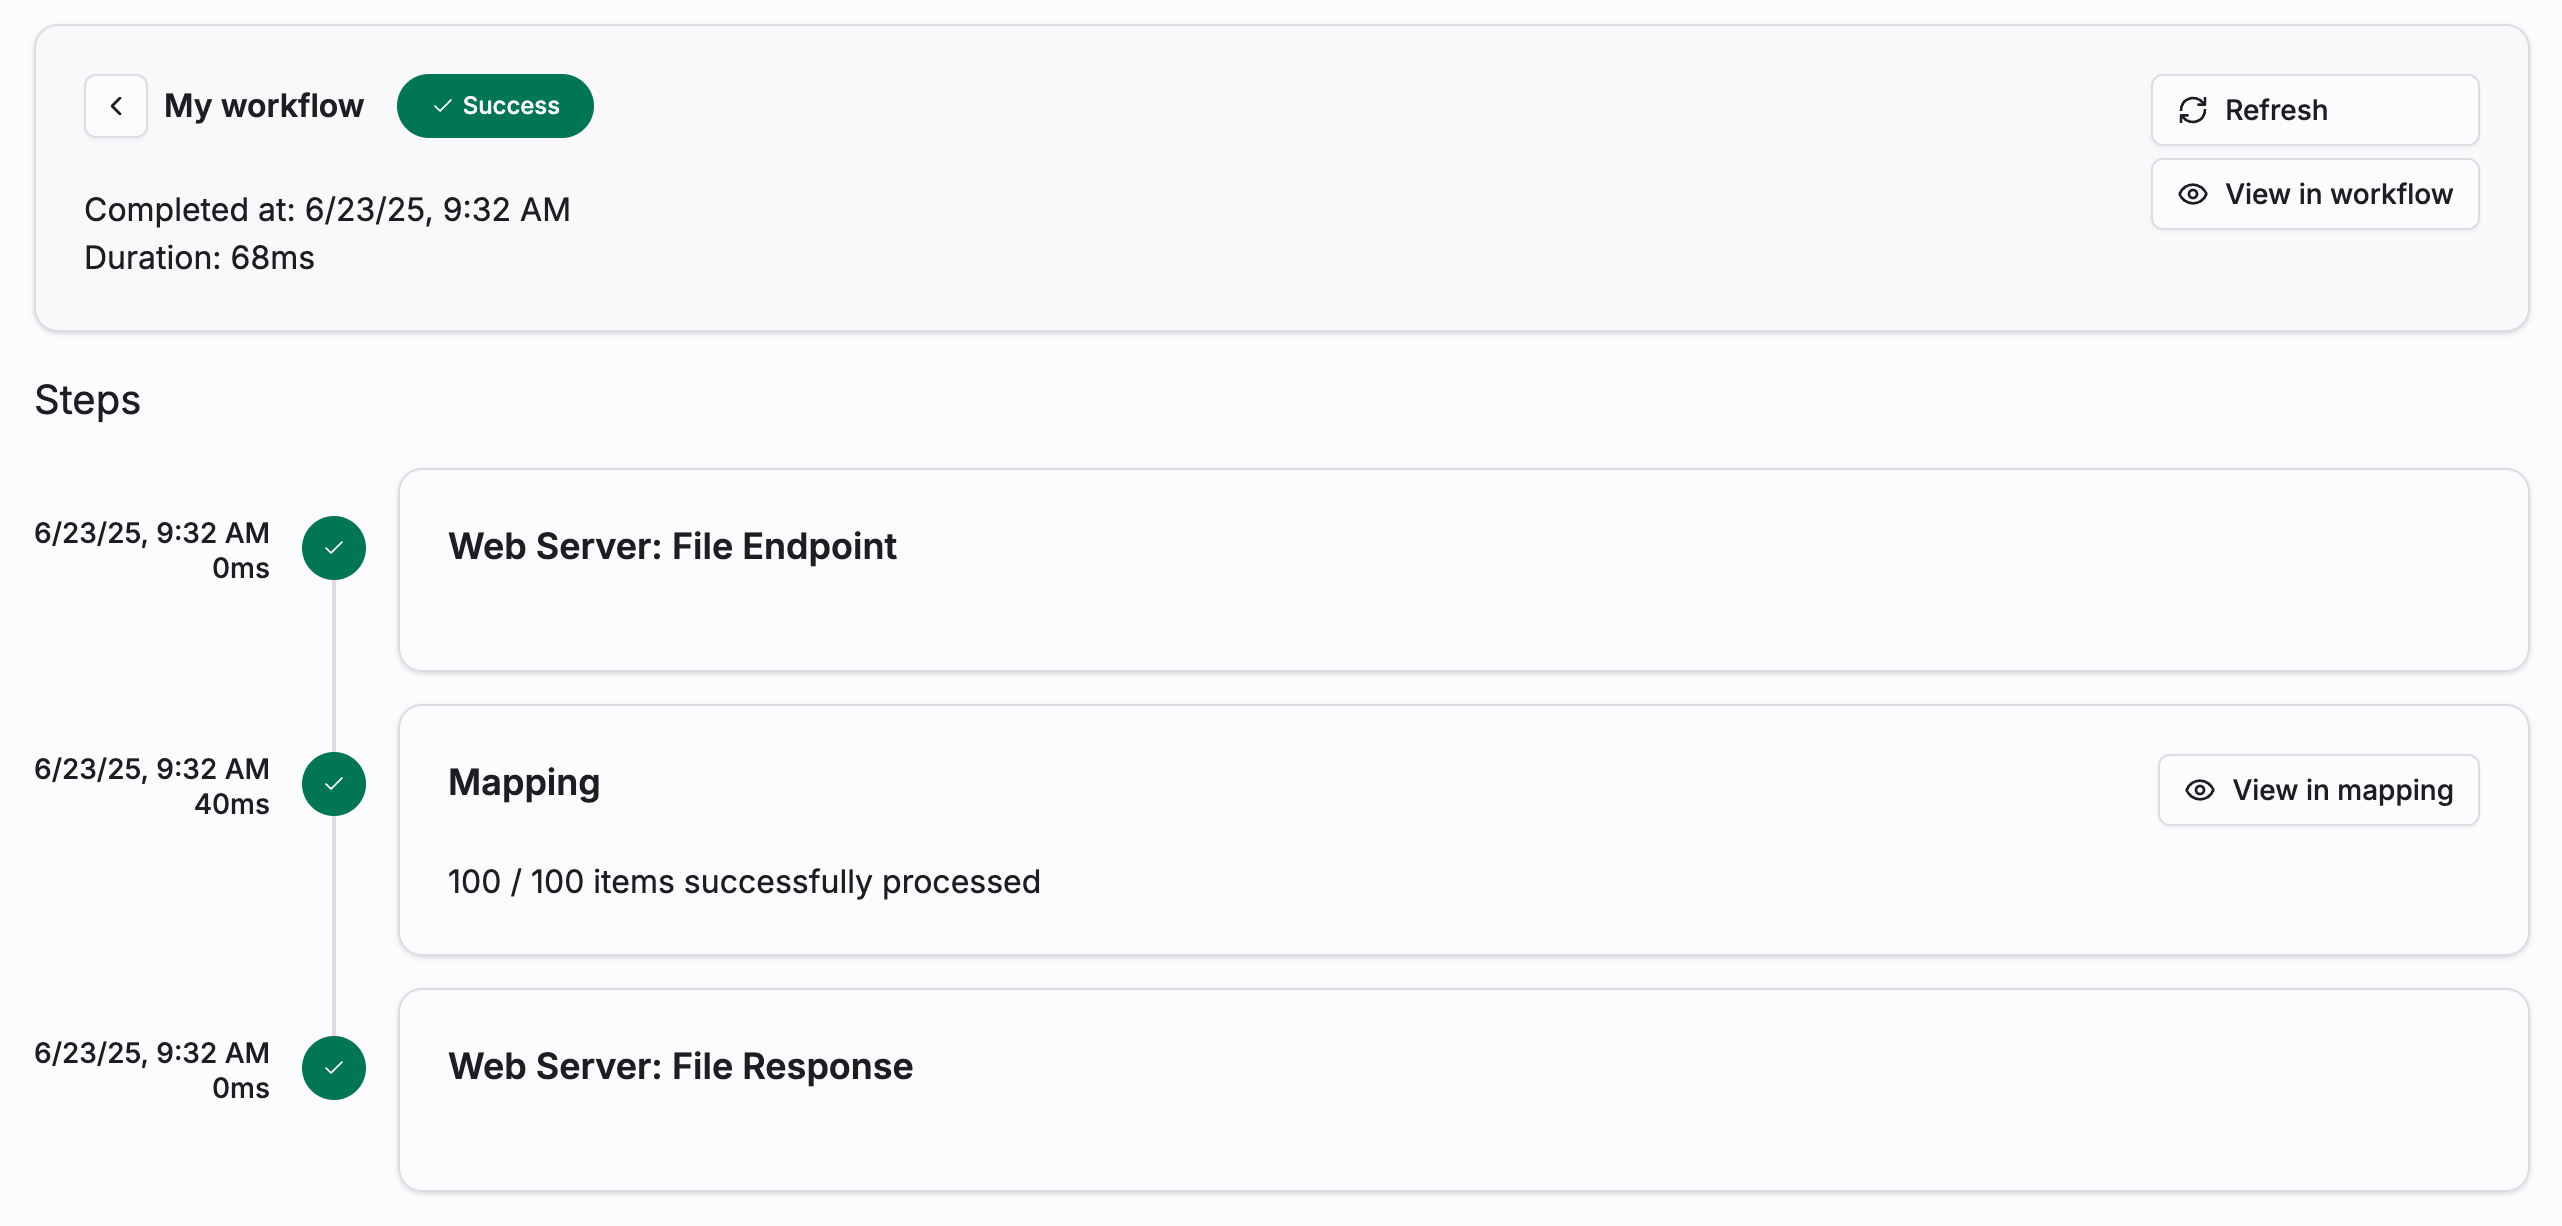
If you click the View in mapping button this will reload current execution into your mapping. (* because we selected Record execution data while adding our workflow Mapping function)
Your turn :)
We made a very simple workflow to showcase zparse capabilities, feel free to explore available integrations it and play around.
Example of addition you could do:
- Send execution report to slack
- Keep a copy of the mapped file in filestore